How to Take Full-Page Screenshots: Complete Guide
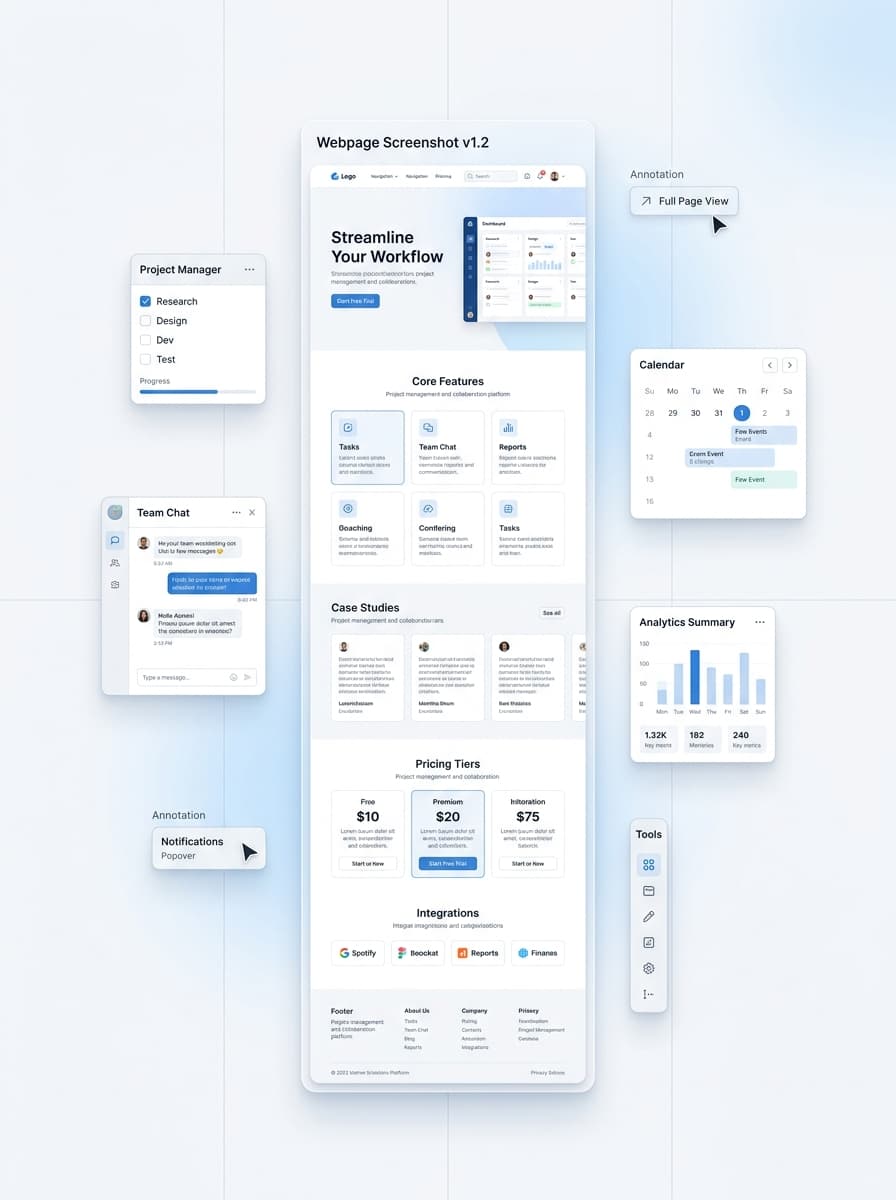
Full-page screenshots capture entire web pages, including content below the fold. Essential for documentation, archiving, and showcasing complete designs.
Why Full-Page Screenshots?
Standard screenshots only capture visible content. Full-page screenshots capture everything, making them ideal for:
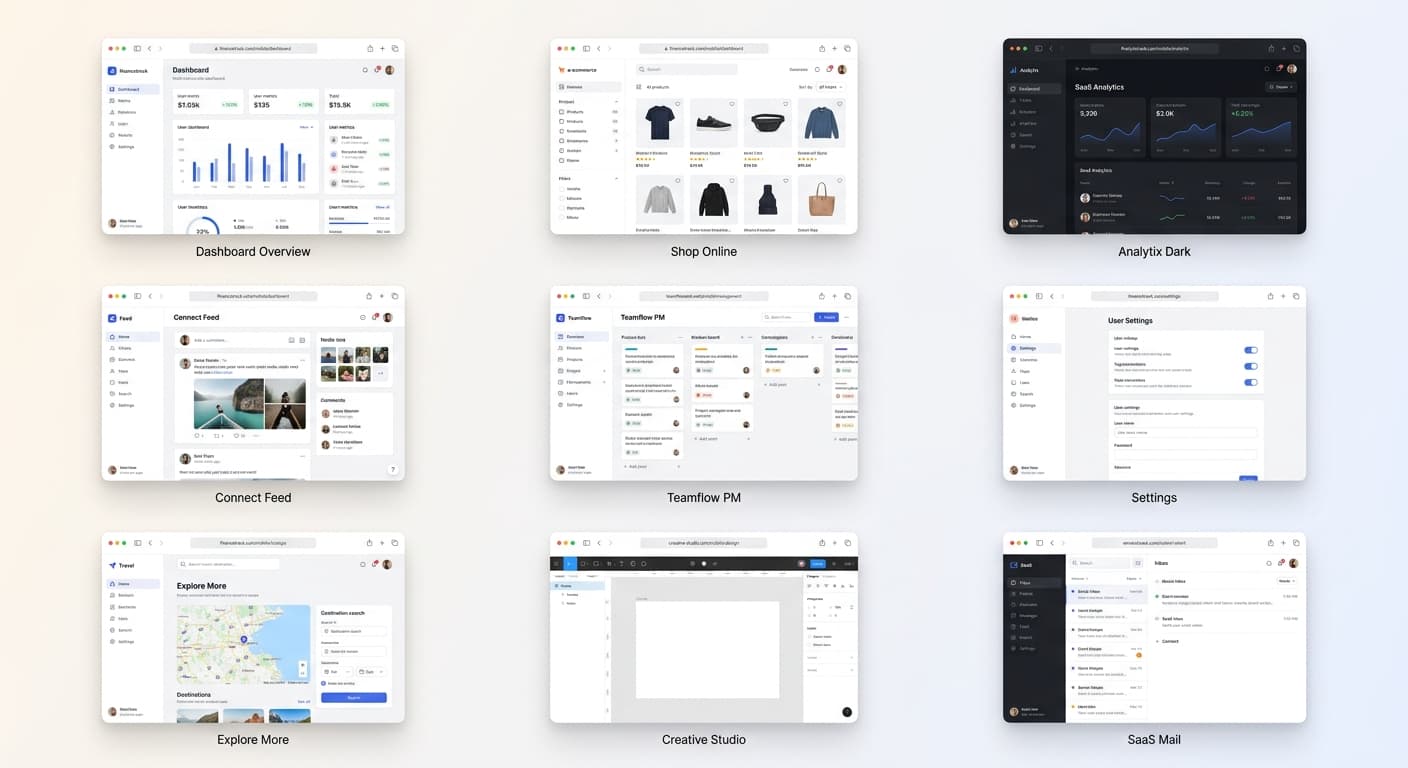
Documentation: Show complete workflows without multiple images Design portfolios: Display entire landing pages Legal/compliance: Archive complete web pages Bug reports: Capture full context of issues Comparisons: Show before/after of entire pages
Methods for Full-Page Screenshots
Browser Extensions (Recommended)
Extensions like ScreenshotFramer automate scrolling and stitching.
Advantages: - One-click capture - Automatic scrolling - Perfect stitching - No manual work
Best for: Regular full-page captures, professional results
Browser DevTools
Chrome and Firefox include built-in full-page capture in DevTools.
Chrome method: 1. Open DevTools (F12) 2. Open Command Menu (Ctrl+Shift+P) 3. Type "Capture full size screenshot" 4. Press Enter
Best for: Occasional captures, technical users
Full-Page Screenshot Best Practices
Prepare the Page
Before capturing: - Close cookie banners - Dismiss popups - Hide chat widgets - Remove notification badges
Choose the Right Tool
ScreenshotFramer: Professional results with frames and backgrounds, up to 15,000px tall DevTools: Quick technical captures Desktop tools: Very long pages or complex layouts
The Bottom Line
Full-page screenshots are essential for documentation, portfolios, and archiving. Browser extensions like ScreenshotFramer provide the easiest, most professional results with automatic scrolling, stitching, and styling options.